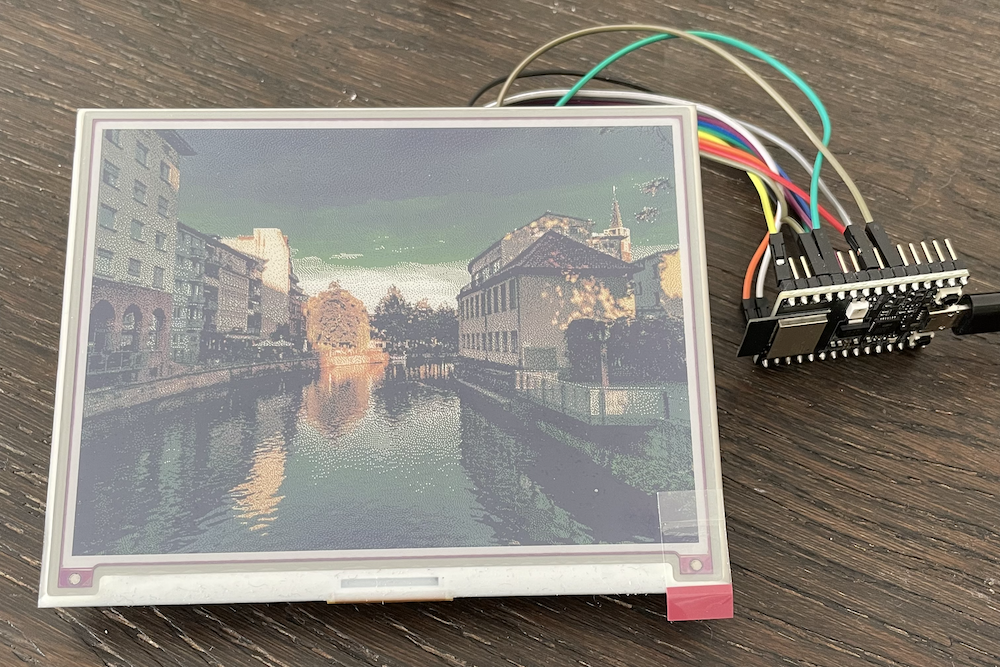
ESP32C3 E-Ink Display
Overview
The goal of this project was to create a working prototype of a device that could receive images over a network and display them on a 7-color E-Ink panel. The Inky Impression was chosen the for the E-Ink display due to its availability and Pimoroni’s open source Python library (here) which immediately enables the user to load images with a Raspberry Pi. A device like the Raspberry Pi was seen as a bit overkill for this application so to create a more power-efficient and battery-capable end product, an ESP32C3 microcontroller was used. The C3 was chosen specifically because it is low-cost, single-core, and RISC-V which made it more ideal for low-power scenarios than its ESP32 siblings.
Getting an Image Displayed Locally
Before incorporating network communication, just getting an image on the display was seen as the “hello world” of this project. The Impression has a resolution of 600x448 and each pixel is 8-bits which gives a rough image size of 268KB. Having this byte array declared either on the stack or dynamically on the ESP didn’t seem possible from initial tests so the image was stored in ROM.
Generating this image byte array was done by selectively taking pieces from the Pimoroni repo and then adding some post-processing. The display driver IC used on the Impression is the UC8159 and all of the code required for setup and image transfer was ported from Pimoroni’s Python repo to C++. In areas where their source code was unclear, the UC8159 datasheet was used as a reference but the datasheet versions available online were pretty rough and contained conflicting information. After a fair amount of debugging and scoping, I eventually saw that beautiful fruit.
Getting an Image Displayed Over WLAN
The utilities available in Espressif’s SDK (ESP-IDF) made setting up WIFI connectivity and a basic HTTP web server very straightforward. The only real application-level logic that needed to be put in place was having a module receive the WIFI event that the ESP was connected to the network and then having this module start the HTTP server. After getting an example running that echo’ed back values received on the /image URI, everything was ready to come together.
When an HTTP request is sent from the client to the ESP, the ESP records how big the entire payload is and then reads out small chunks of the payload at a time until everything has been read out. Once complete, a response is sent back. This alleviated the problem of needing to store the entire image array in RAM before sending it to the UC8159. On the client-side, the image was converted into a long string composed of comma-separated byte values and sent the to the ESP. Using a proper protocol buffer such nanopb was considered but given the simple nature of the transfer, it was deemed unnecessary. This image string was then received in chunks on the ESP side which were converted into arrays of 8-bit integers and then sent to the UC8159. Once all packets were sent, the display was refreshed.
Design Considerations
The UC8159 takes roughly 30 seconds to refresh an image once its frame buffer has been loaded which is easily the biggest performance bottleneck. Because almost all of this delay occurs outside the control of the application, the SPI and HTTP transfer implementations were left in an un-optimized state.
To enable unit testing on a host machine, abstraction layers were created for all modules that interacted directly with the ESP-IDF. This provides an interface for Google Mock to simulate low-level behavior when testing application logic on a desktop and the ability for other microcontrollers to utilize the same application code so long as they implement the interface properly.
Wrap Up
Ideally this project would’ve ended with a battery-powered showcase and additional application code to allow deep-sleep functionality in the ESP32C3. This could be implemented in a future iteration however as the foundation is already here. Feel free to email me if you have any questions!

Link to repo: https://gitlab.com/aparsons/eink_display